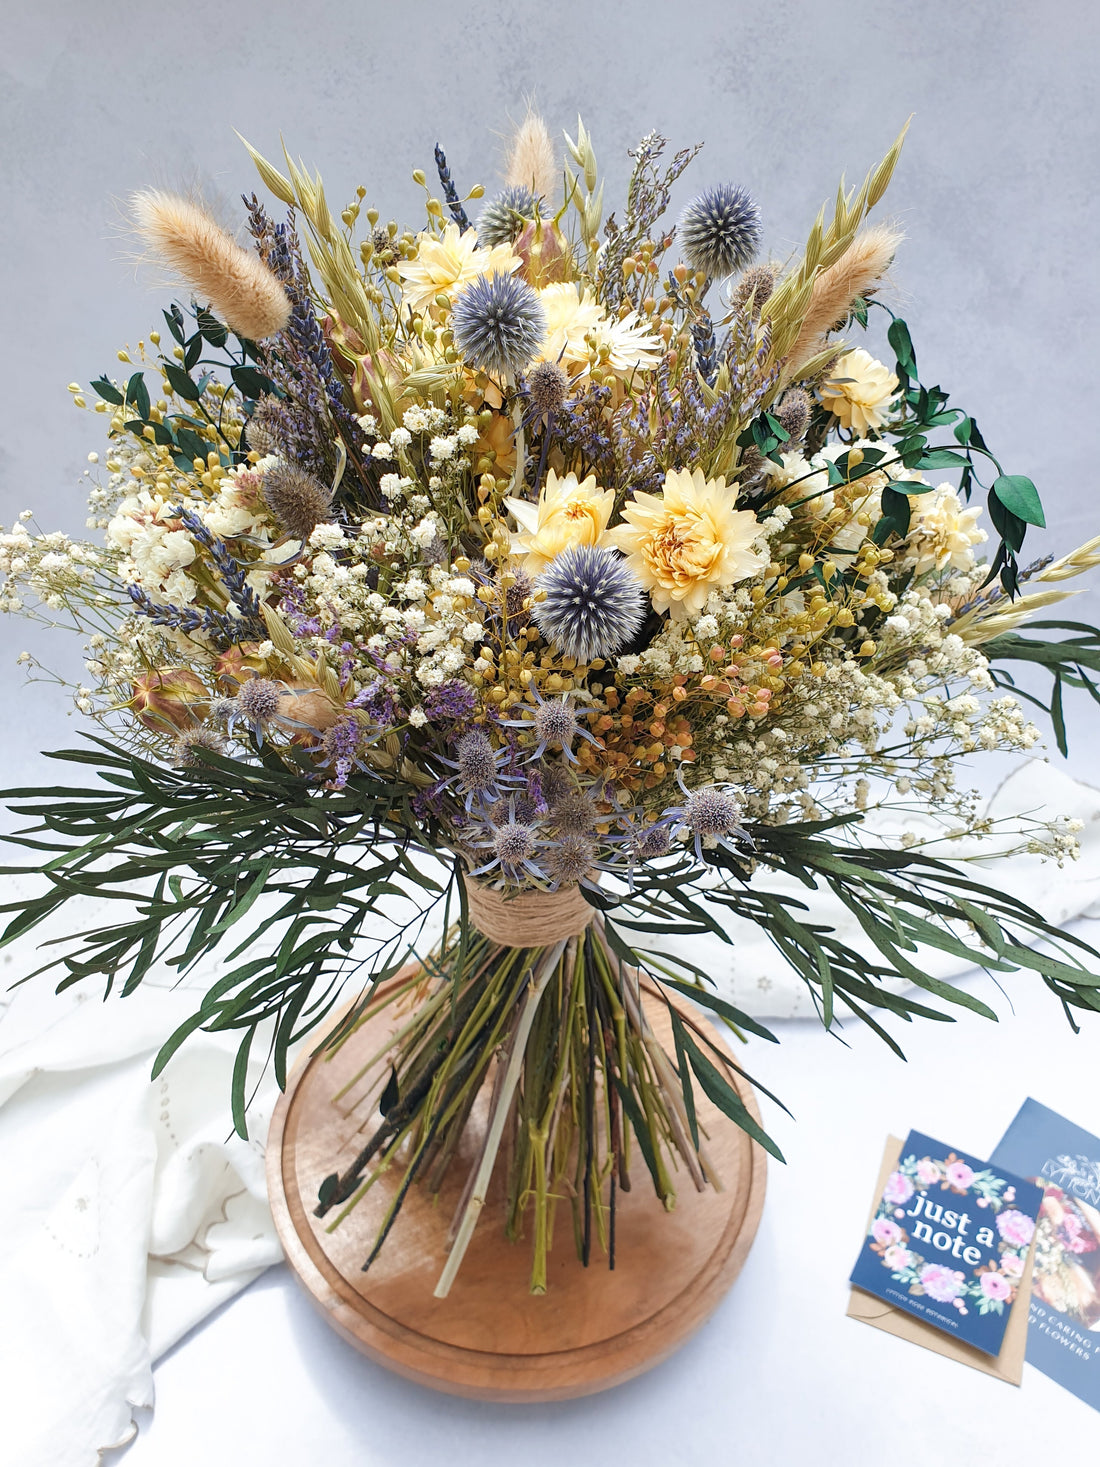
How to Create Beautiful Dried Flower Arrangements for Any Space
Share
Dried flowers have a timeless beauty that allows you to create long-lasting, natural decor for any room. Whether you’re making a spiraled hand-tie bouquet, a minimalist loose-stem arrangement, or a structured front-facing display, dried flowers are versatile and easy to work with. Below are three dried flower arrangement techniques that will suit a variety of vases and spaces.
If you have ordered a ready tied arrangement from us, we do recommend keeping the bouquet tied as it comes, and simply placing it in a vase of the appropriate size. If stems need to be trimmed to a shorter height, you can use rose snips or secateurs to do this. If the arrangement needs lifting up in the vase, why not try some pretty pebbles? If the vase isn't see through, you can also use scrunched up newspaper or sand to raise the flower arrangement up a little!
1. Spiraled Hand-Tie Arrangement
A spiraled hand-tie bouquet is a classic rounded arrangement that’s as perfect for displaying on a table as it is for gifting. This technique creates a structured, full shape that showcases the flowers from every angle.
Materials Needed
- Dried flowers of various textures and sizes (such as roses, eucalyptus, bunny tails, wheat, or thistles)
- Floral shears
- Twine or floral tape
Instructions
Select and Prepare Flowers: Choose a mix of textures and colors. Trim any stray leaves or bits from the stems.
Start with a Focal Flower: Hold a focal flower (e.g., a dried rose) as the center of your bouquet.
Build the Spiral:
- Add a second flower at a slight diagonal to the first and rotate the arrangement slightly.
- Continue adding flowers, rotating each time, creating a circular, spiral shape. Keep all stems angled slightly to one side.
Add Variety: Vary textures and colors as you add to the bouquet. Keep taller stems in the middle and shorter ones around the outside edges.
Secure the Bouquet: Once your bouquet is full, tie the stems just below where you’re holding them. Use twine or floral tape to secure.
Trim the Stems: Cut the ends to an even length, so the bouquet stands well in a vase.
Display Tip: Place the bouquet in a narrow-neck vase to keep it stable and emphasize its rounded shape.


2. Arranging Loose Dried Stems
Loose-stem arrangements are perfect for creating minimalist displays that bring character to a shelf, desk, or windowsill. With just a few small vases and a mix of single stems, you can craft a beautifully understated display.
Materials Needed
- Dried flowers and grasses (like pampas, lavender, or strawflowers)
- Bud vases or jars (differing shapes and heights of vessels add interest and a boho vibe to the arrangement)
- Scissors
Instructions
Choose Vases and Flowers: Pick a few small vases in different shapes and colors.
Single or Few Stems per Vase:
For a minimalist look, place one striking stem (such as pampas) in a narrow vase.
For a slightly fuller look, add two or three different types of stems, such as lavender with a pop of color from a strawflower.
Adjust Heights: Trim stems at different lengths for variation and dimension when grouping vases.
Group and Place: Arrange the vases in a small cluster on a shelf or table, preferably in odd numbers for visual interest.
Display Tip: Loose-stem arrangements look especially appealing in neutral-toned ceramic or glass vases, allowing the flowers to be the focal point.

3. Front-Facing Tied Arrangement for a Standard Vase
A front-facing tied arrangement is ideal for places like sideboards or windowsills, where the display is meant to be viewed from one side. This arrangement style adds visual interest while keeping the flowers angled forward in a structured, layered design.
Materials Needed
- Dried flowers of different heights and textures (such as hydrangeas, roses, eucalyptus, wheat, amaranth)
- Floral shears
- Twine or paper covered wire to fasten.
- Standard vase with a medium to wide opening
Instructions
Select and Prepare Flowers: Choose a variety of dried flowers in different textures and heights.
Start with a Focal Flower: Hold your first focal flower (such as hydrangea) at an angle in your hand. This will be the central flower, angled slightly forward.
Add Height and Support at the Back:
Place taller stems like eucalyptus or thistle behind the focal flower to create height.
Keep each stem angled slightly forward to build a layered effect.
Build the Shape:
Add medium-height flowers (like dried roses) in front of the taller stems, creating depth.
Add cascading elements, like amaranth, to the front for added movement and a “sweeping” effect.
Tie the Arrangement: Secure the stems with twine just below the flower heads to hold the shape.
Trim and Place in the Vase: Cut the stems to fit your vase, ensuring they sit snugly and are visible from the front.
Display Tip: This arrangement works best in a medium to wide-mouthed vase, so the bouquet can fan out naturally. Tapered vases help stabilize the arrangement.


With these techniques, you’ll be able to showcase the timeless beauty of dried flowers in multiple ways, whether you want a full bouquet, a minimalist cluster, or a front-facing arrangement for a focal area. Dried flowers bring natural texture and color into any space and, with the right arrangement style, can complement any room decor.